
Rule of thumb, and the exceptions
If the garage door opens, closes, and the home inspector didn't flag it, most buyers assume it's fine. The exceptions are everywhere: a general home inspector is checking that the door operates and that the auto-reverse works, not whether the springs are nearing failure, whether the door carries a wind-load rating suited to hurricane season, or whether moisture has been quietly rotting the bottom panel from the inside. None of that shows up in a five-minute walk-through, and all of it can turn into a repair bill or a safety issue within the first year of ownership.
Before you close, walk the garage yourself and work through this list. Bring a flashlight.
The walkthrough checklist
1. Look for a wind-load rating label on the inside of the door
Most doors manufactured for this part of Florida carry a label noting wind-load capacity. If you can't find one, or the door is clearly older than the house's listing suggests, that's worth asking the seller about directly. A door without adequate wind resistance is a liability once storm season rolls around again, and replacing it later costs more than negotiating it now.
2. Check the bottom two panels for swelling or soft spots
Press on the lowest panels near the corners. Humidity and standing water from afternoon downpours work on steel and composite doors from the bottom up. Swelling, bubbling paint, or a spongy feel means moisture has already gotten in. If you can see it on the outside, assume it's worse on the inside of the panel.
3. Inspect the bottom brackets and track ends for rust
These sit closest to the slab, where splash-back and humidity collect. Surface rust is cosmetic. Flaking, pitted metal at the bracket bolts means the mounting point has weakened, and that's a structural concern, not a maintenance one.
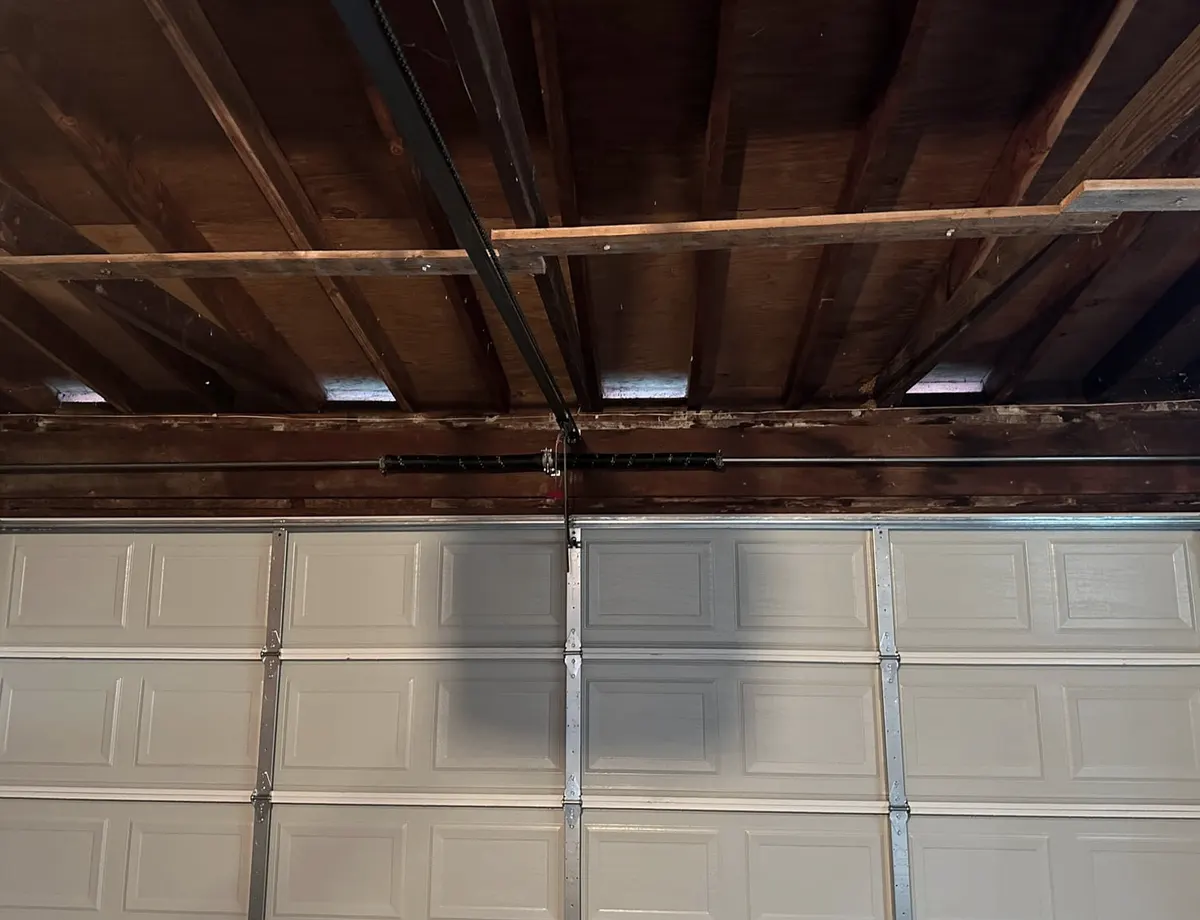
4. Identify the spring type and look for rust or gaps in the coils
Most inspectors won't touch the springs at all, partly because testing them safely takes the right tools. Look for a date sticker or manufacturer stamp. If the springs are original to an older door, or you see rust between the coils, budget for replacement soon rather than waiting for the 2 a.m. snap that leaves the door stuck.
5. Test the auto-reverse, but also check the force setting
Place a 2x4 flat on the ground where the door closes. It should reverse on contact. If it does but seems to hesitate or struggle, the opener's force setting may be too high, which is both a pinch hazard and a sign the door isn't moving as freely as it should.
6. Check photo-eye sensor alignment and wiring
Sensors mounted low near the track take the brunt of humidity, dust, and the occasional lawn equipment bump. Look for cracked lenses, loose brackets, or exposed wire splices. Misaligned or failing sensors are one of the most common issues local homeowners deal with, and a seller may have been living with a workaround you don't want to inherit.
7. Look at the weatherstripping along the bottom and sides
Run a hand along the seal. If it's cracked, flattened, or missing sections, water from heavy rain has likely been getting under the door during storms. This also lets in humidity that accelerates rust on the hardware inside.
8. Check for a GFCI outlet and exposed wiring near the opener
Garages are damp environments, and an opener plugged into a non-GFCI outlet is a code and safety gap that's easy to miss in a general inspection. Look at the outlet itself for any sign of water staining or corrosion on the plug.
9. Confirm the manual release cord works
Pull the red release cord and make sure the door disengages from the opener smoothly. During power outages, which aren't rare here during hurricane season, this is how you'll get the door open by hand. A stiff or broken release mechanism means you're locked out of manual operation when you'd need it most.
10. Check whether there's a battery backup on the opener
Not every home will have one, but if the seller mentions storm prep or you're buying in an area prone to outages, ask whether the opener has battery backup installed. If not, it's a reasonable item to negotiate or plan for after closing.
What each failure actually means for you as a buyer
None of these items are deal-breakers on their own. A missing wind-load label might just mean an older door that still performs fine, and surface rust on brackets might be a quick fix. But stacked together, they tell you whether the garage door is a thirty-dollar adjustment or a four-figure near-term replacement. Knowing the difference before you close gives you real negotiating leverage, not just peace of mind.
When to call Gainesville Garage Door
If your walkthrough turns up rust at the brackets, a door without a visible wind-load rating, or springs that look original and aging, it's worth getting a second set of eyes before closing. Gainesville Garage Door can run a full pre-purchase inspection, check the door's wind-load rating against current storm season expectations, and give you straight numbers on whether a repair or a full installation makes more sense. If the door's fine but the hardware is showing its age, our garage door maintenance service can get springs, rollers, and sensors back into shape before you've even moved the first box in.
Buying a home in Gainesville, Alachua, Newberry, High Springs, or anywhere nearby? Call Gainesville Garage Door before you close and get a clear, honest read on what you're actually inheriting.